Container installation guide
1.Bottom frame assembly, horizontal adjustment
Take 4 beams, 2 bottom side beams and 2 bottom beams, and connect corner Fitting of the base frame with bolt connection.

图1-2
When performing Step 1, adjust the horizontal and diagonal lines, and properly raise the chassis to ensure that the chassis is in the same horizontal position. Note that the bolts do not need to be tightened, but can be tightened manually
After completing Step 1, you can obtain the base frame as shown in Figure 1-2

图1-2
2.Bottom purlin installtion
Ues 4pcs 80*80galvanized steel and 5pcs 40*80galvanized steel , with screws fixed, tighten, two different square pipe distribution position for the way of inter-fault distribution s shown in Figure2-1

图2-1
3.Install Pillar and top frame
Four V-shaped pillars are inserted into the foot pieces of the Corner Fitting, manually linked with carriage bolts, and four link corner pieces are fitted to the top of the posts. Then use a ladder to assemble the top two 5.63m bottom side beams and two 2.68m bottom beam frames onto the top corner pieces and manually tighten the screws. See Figure 3-1 and Figure 3-2

图3-1

图3-2
4. Frame adjustment
Adjust the two sides of the pillars in turn with a level, adjust and hold it, and tighten it with a wrench. So the top frame must be positioned in line with the chassis frame.
5 . Wall , door and window install
Row the rear wall first. The rear wall consists of two 2.55 panels, a window and a lower window panel (as shown in Figure 5-1). After the rows are arranged, secure the upper part of the wall by using cable ties, and secure the front and side walls by using galvanized cable ties, as shown in Figure 5-2

图5-1

图5-2
6.Wall fix
Place five floors on the chassis purlins and clamp the boards on both sides at the same time (as shown in Figure 6-1). Hit 2.5 nails on the top of the upper buckle groove to stop down, and hit the frame on the side of the buckle groove with 7.5 self-tapping nails. The nail position is to ensure two nails on one board. Make the wall board, buckle groove, frame as a whole fixed. (As shown in Figure 6-2)

图6-1
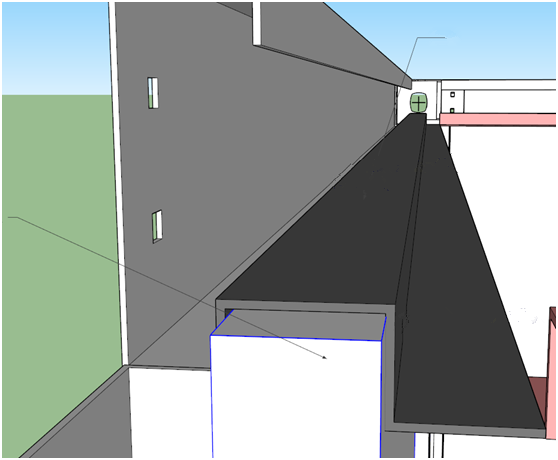
图6-2
7,Top frame install
1)Bottom top frame install(inside ceiling)
Put 2pcs Roof panel put into the pressing plate As shown in Figure 7-1
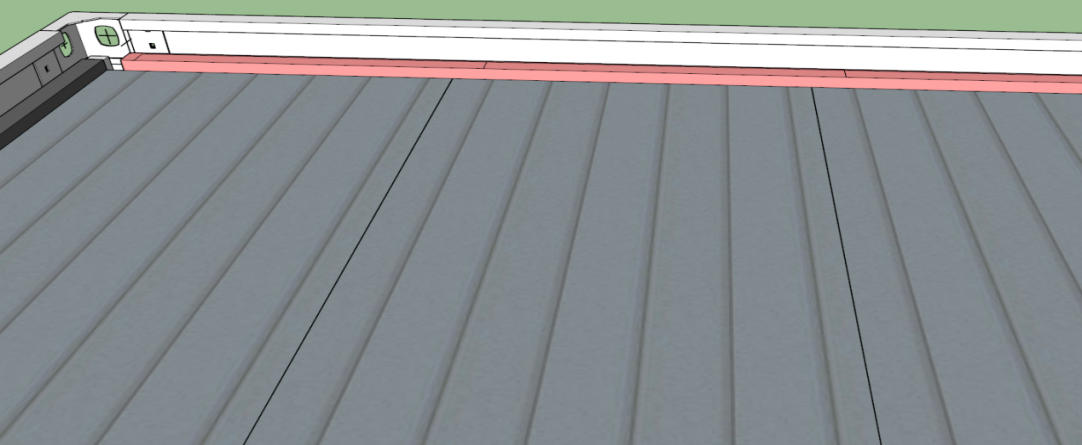
图7-1
2)Install the roof purlin at the top of the roof. Use a self-tapping nail to push the corrugated bars at the contact position with the buckle of the wall body from bottom to bottom, and connect the bracket, indoor ceiling, and roof corrugated bars together, as shown in Figure 7-2
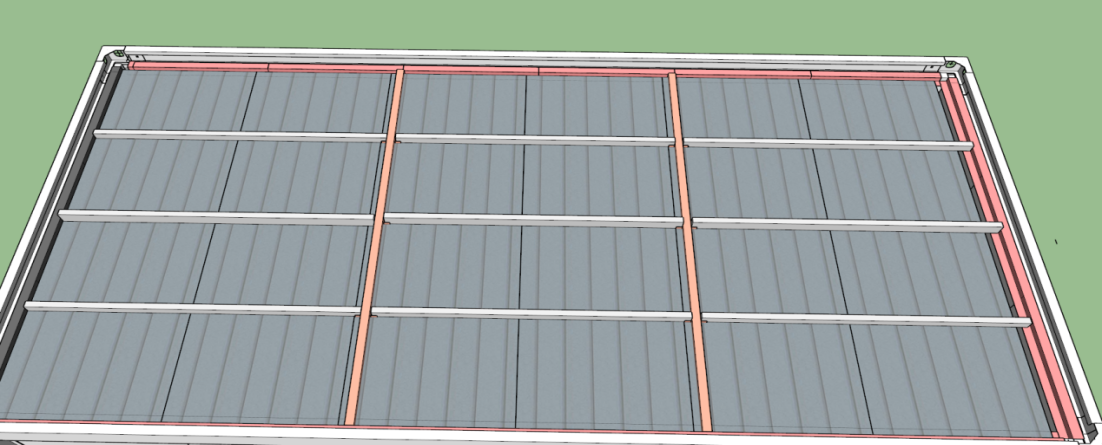
图7-2
3)After finish 1 and 2 process, cover with Glass cotton lap as shown in Figure 7-2
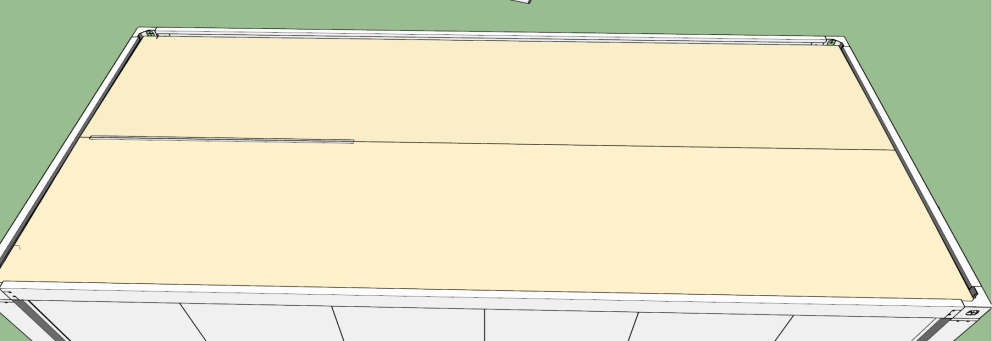
4)Lay the roof tiles and connect the roof tiles with the roof corrugated strips with 25mm self-tapping nails, as shown in Figure 7-3
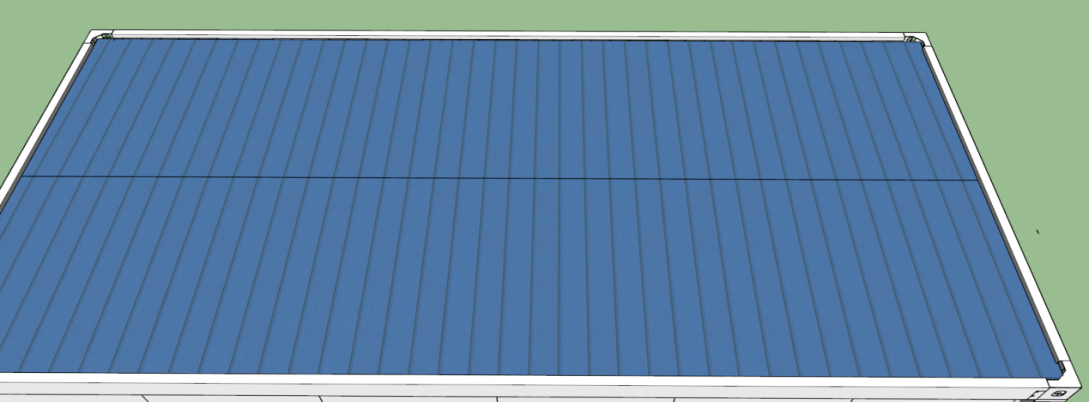
图7-3
8)Roof panel install caution
Before placing the top tile, it is necessary to attach sealing strips to the outer eaves of the two six meter direction buckle slots, in order to prevent tile backflow. When the top tile is placed, it is necessary to highlight the top frame guide sink mouth 2 cm, and then separate a flat wheel flap with 2.5 self-tapping nails to stop the buckle groove, and pay attention to the tile and tile lap need to apply a section of waterproof glue, but also to prevent tile drainage water droplets back into the room. Finally, apply waterproof structural adhesive on the top of the nail.


